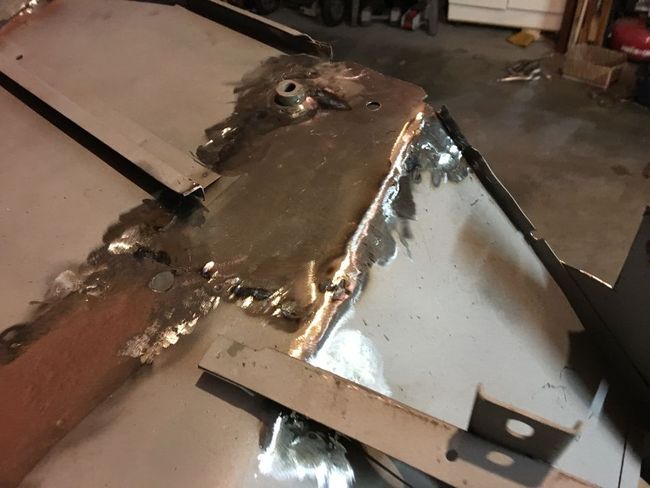
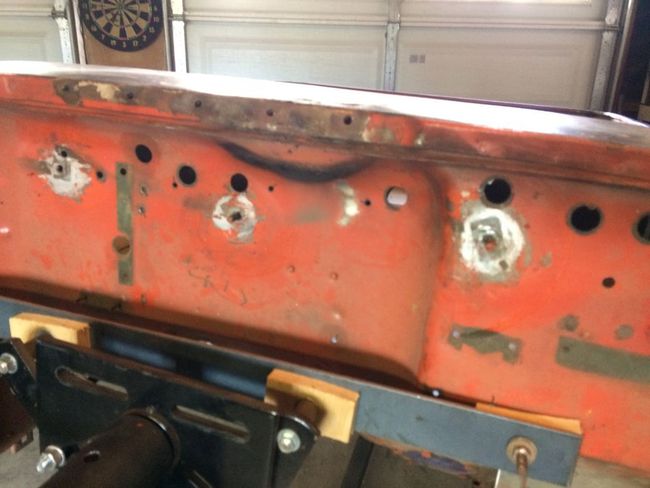
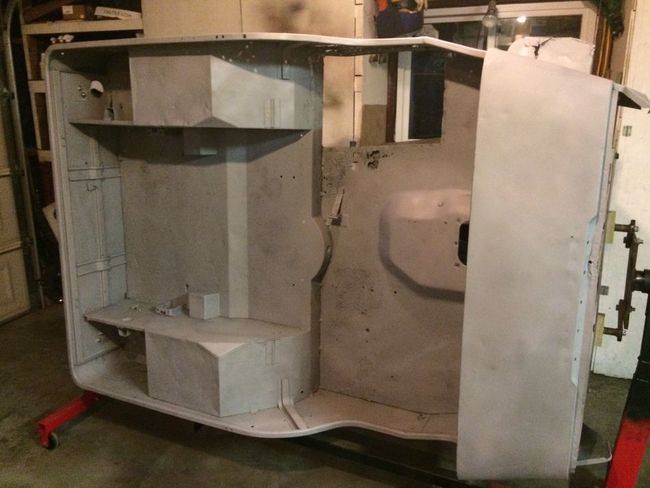
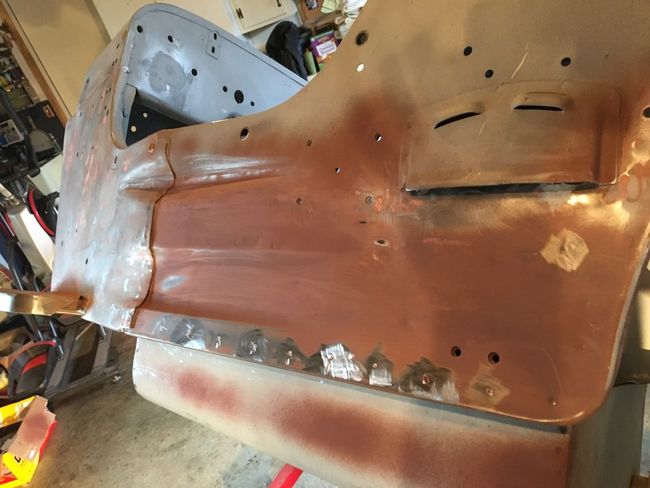
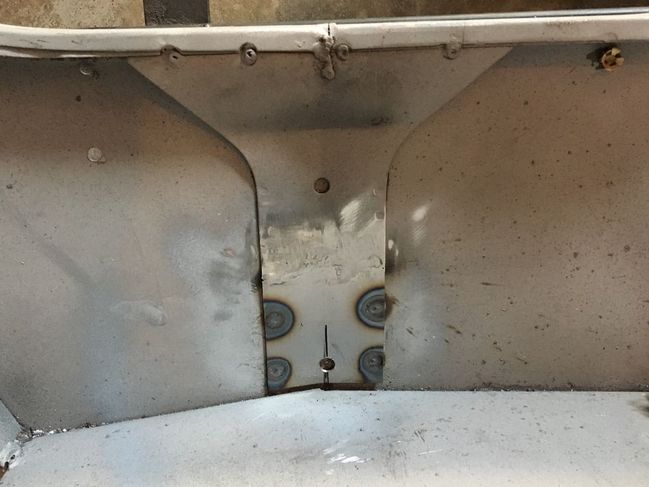
Out with the bad metal. Bubba had just filled all of this area with weld, and it was a bit of a mess. Nothing a right angle grinder can't clean up.

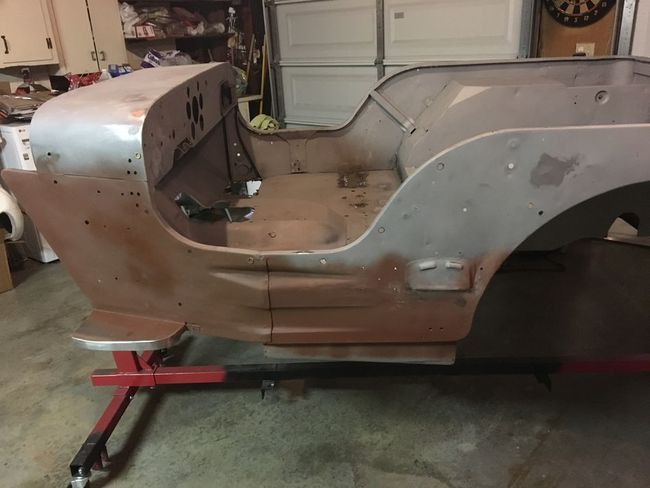
Certainly a lot better than rusted out, so I can't complain too much, again this tub is overall in really good shape.

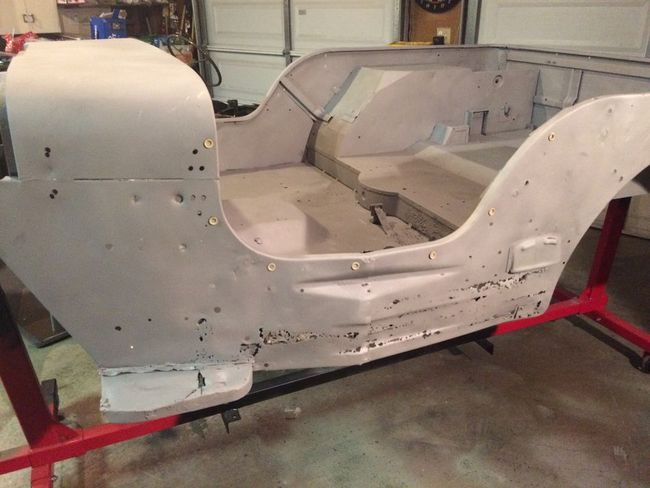
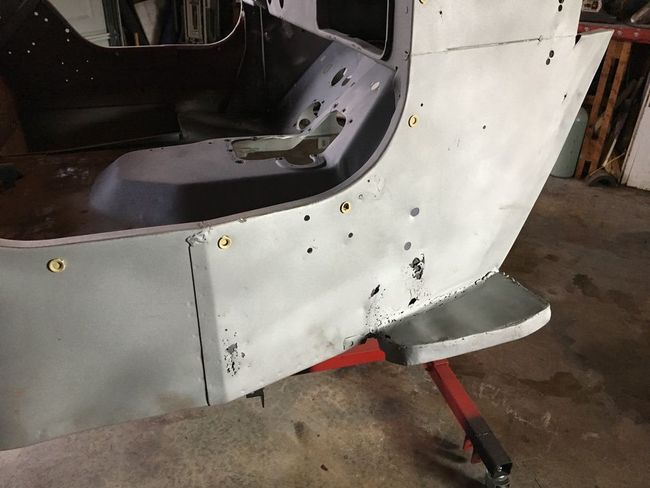
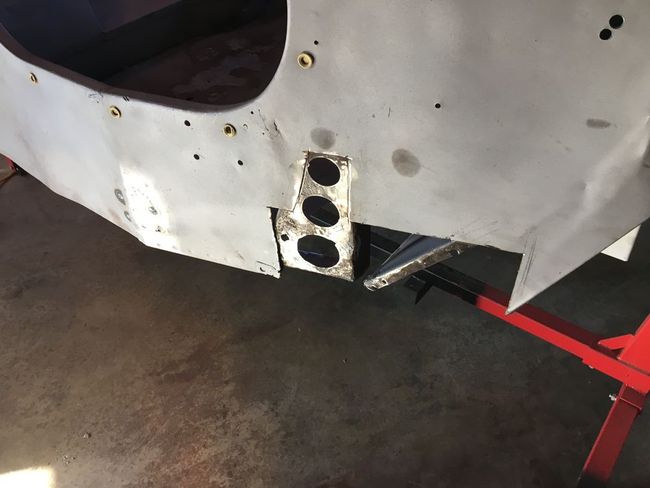
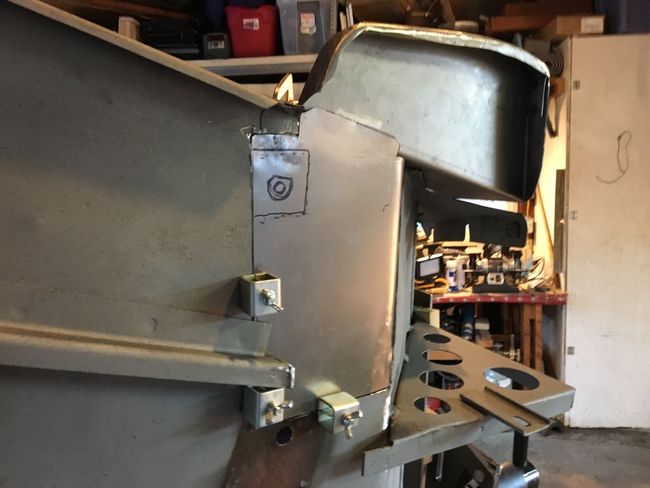
I welded in some new steel around the support holes and where the front and rear side pieces join. Still need to use the die grinder and clean up the edge of the holes.
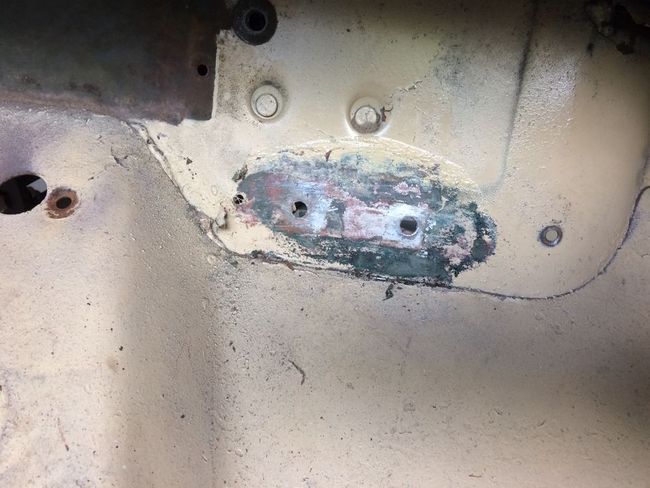
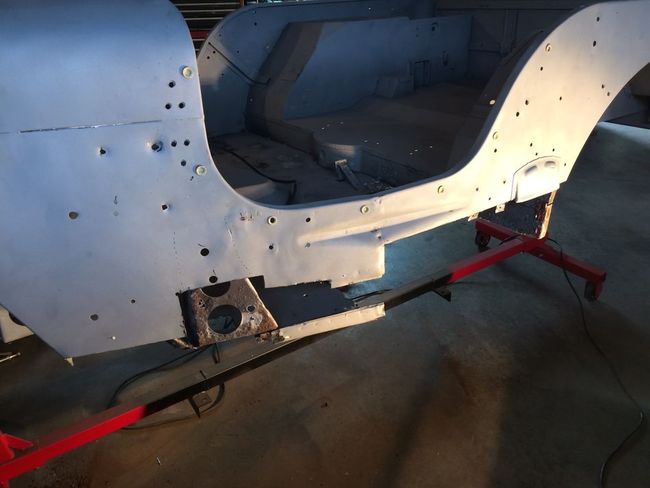
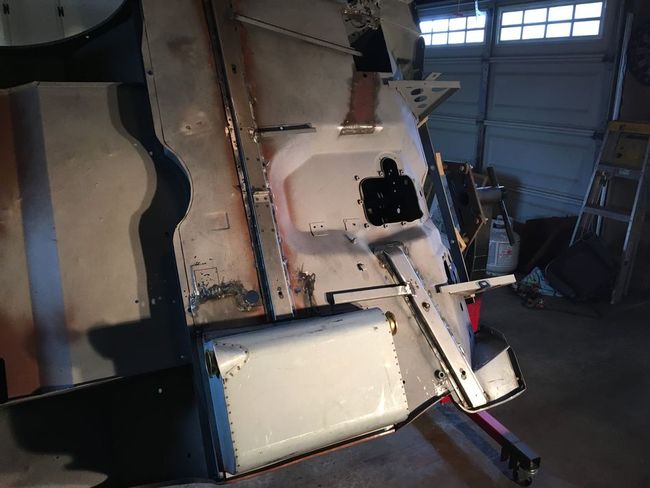
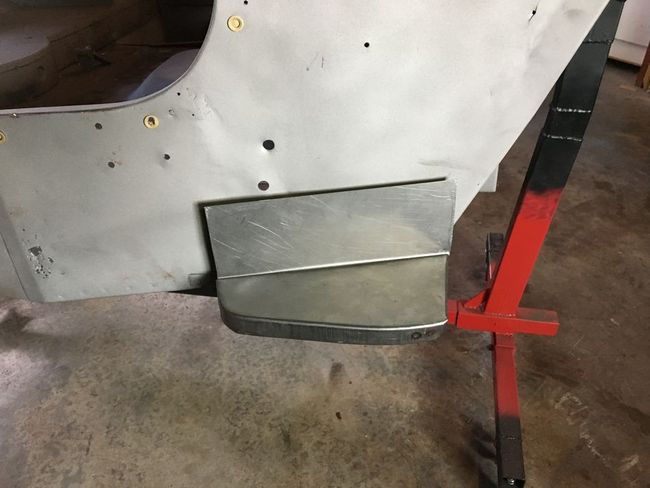
Time to replace the floor piece. Just used a piece of stiff paper to make a template and then cut it out in steel. I saved the drain area from the old floor so just had to mark the proper place. Bubba piled on the weld into the curve of the floor so I had to recreate it in this piece. The step is just clamped in to check the fit.
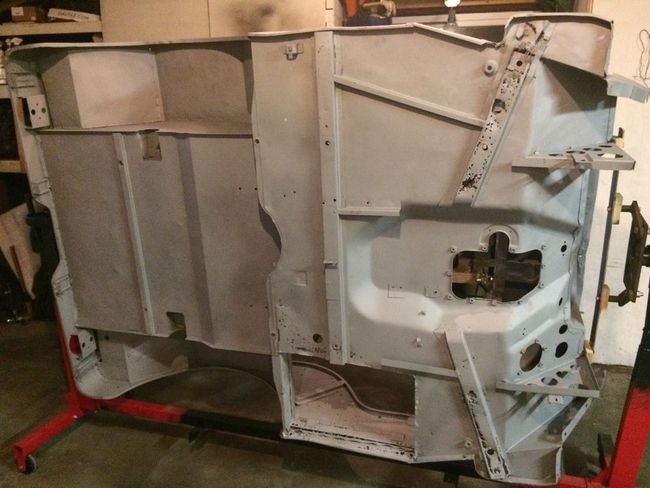
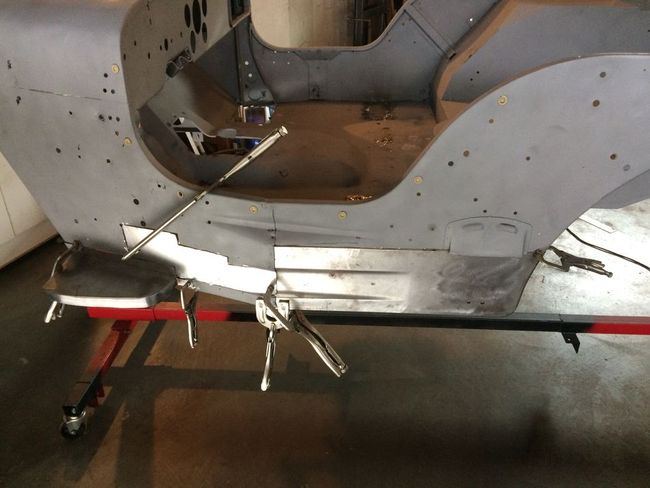
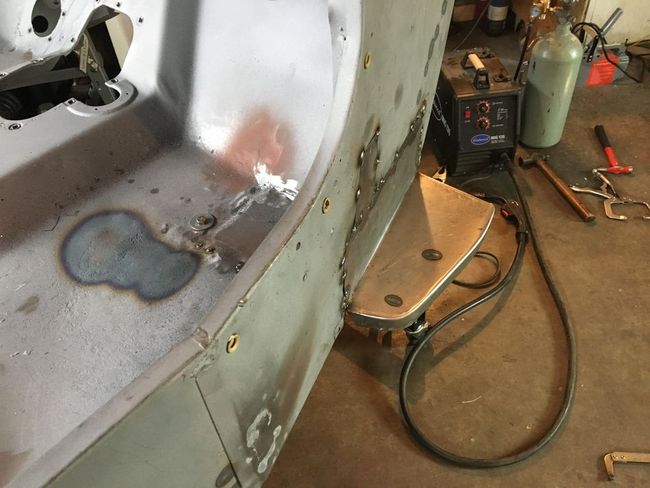
Welded in the floor piece and started grinding the welds off, with the drain added back in.