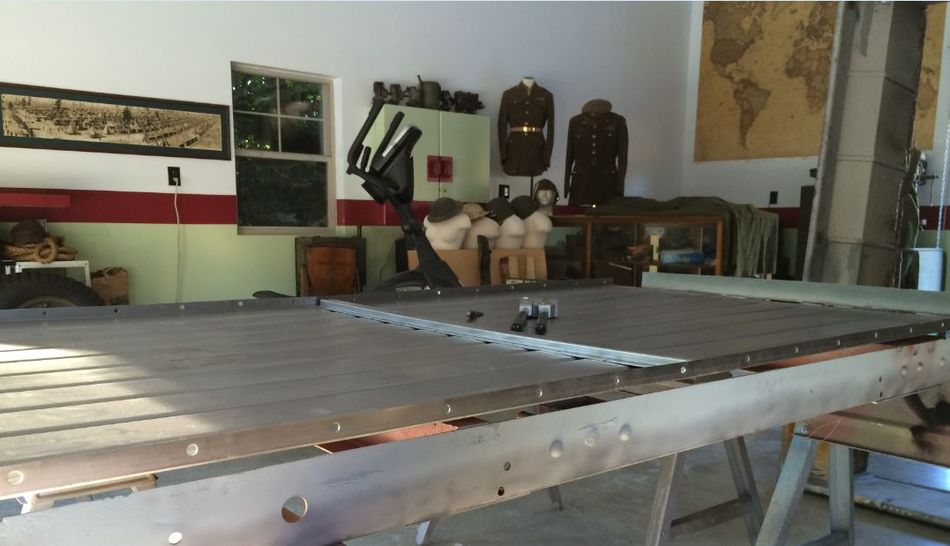
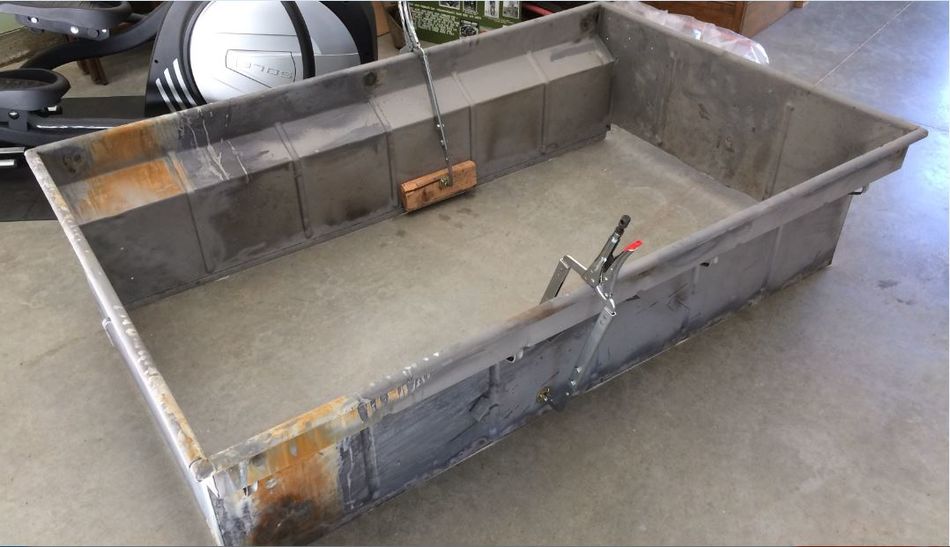
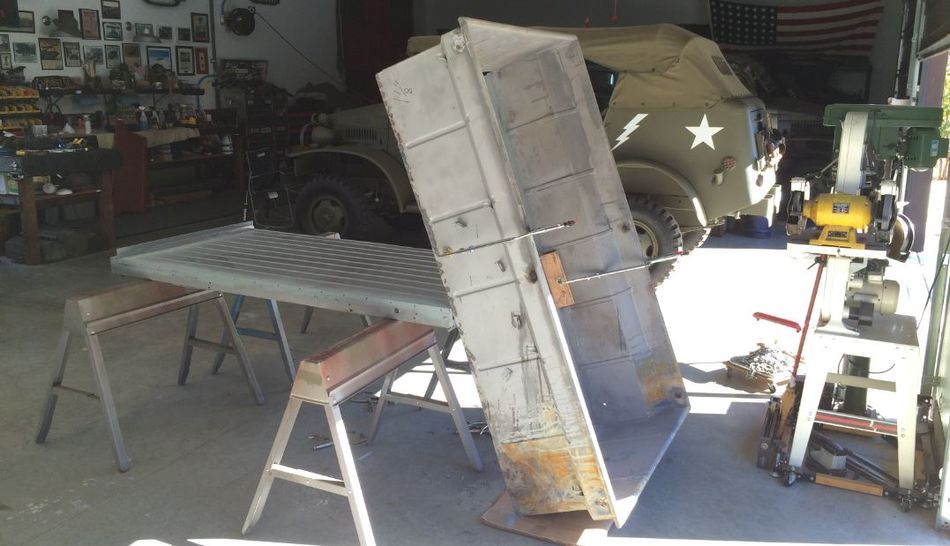
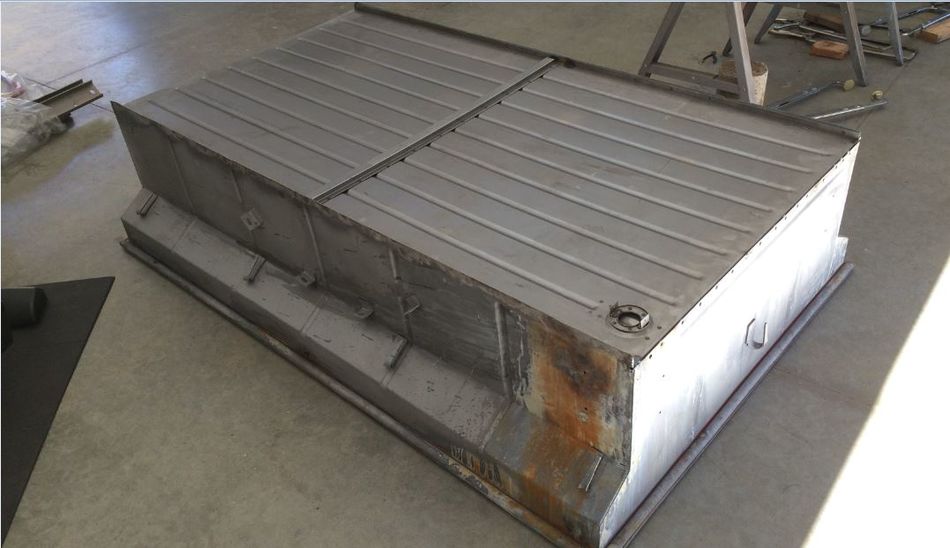
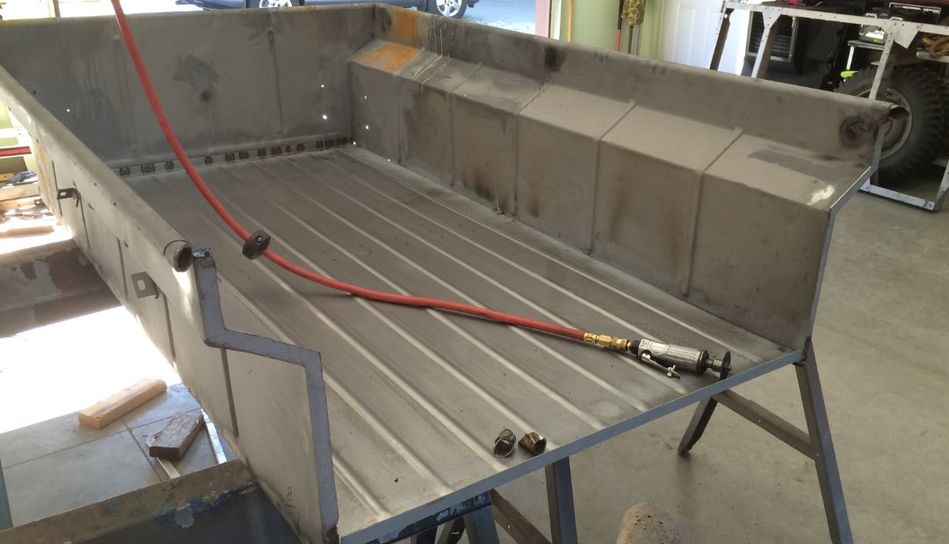
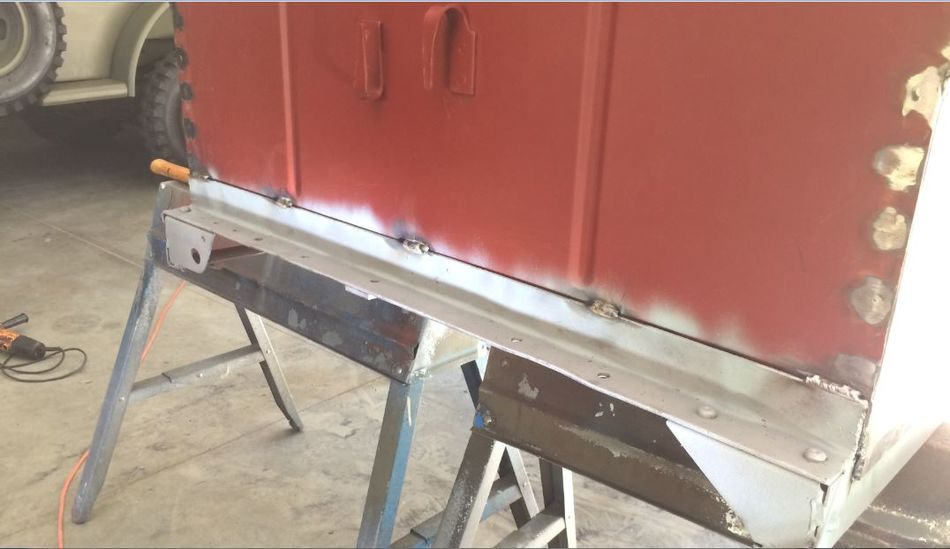
The frame is like a slinky when not supported with the welded tub on it as there is no support to keep it square. Therefore, I prefer to have the floor flat to the frame first...plus I received my front panel replacement. Not sure how to make it all go back together yet so that the frame is straight...maybe it doesn't matter and I'm over thinking it. Likely will be very difficult if not impossible to keep the frame straight. Fitting floor to frame:
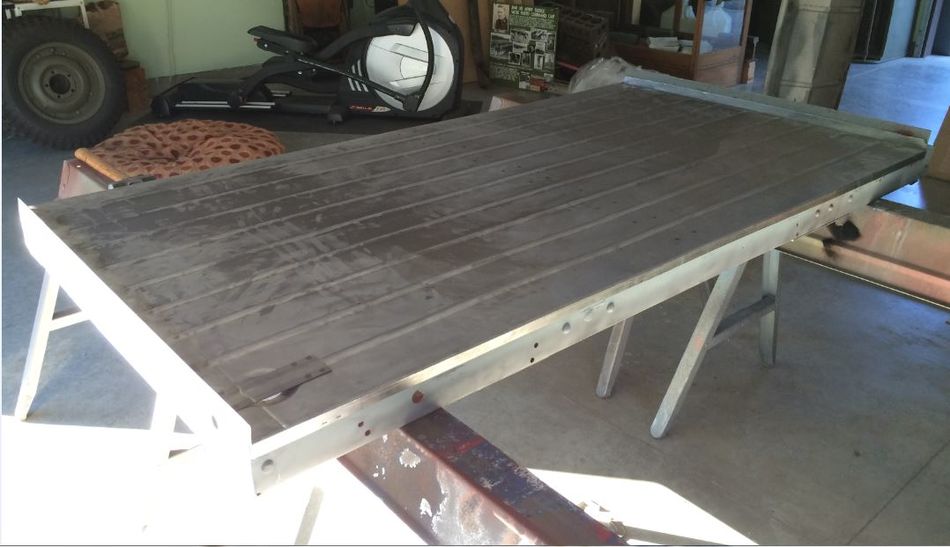
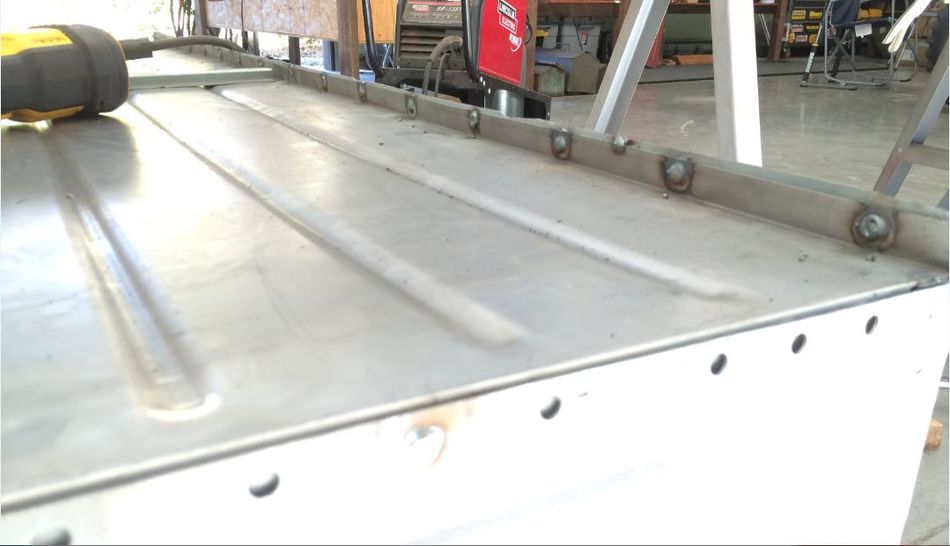
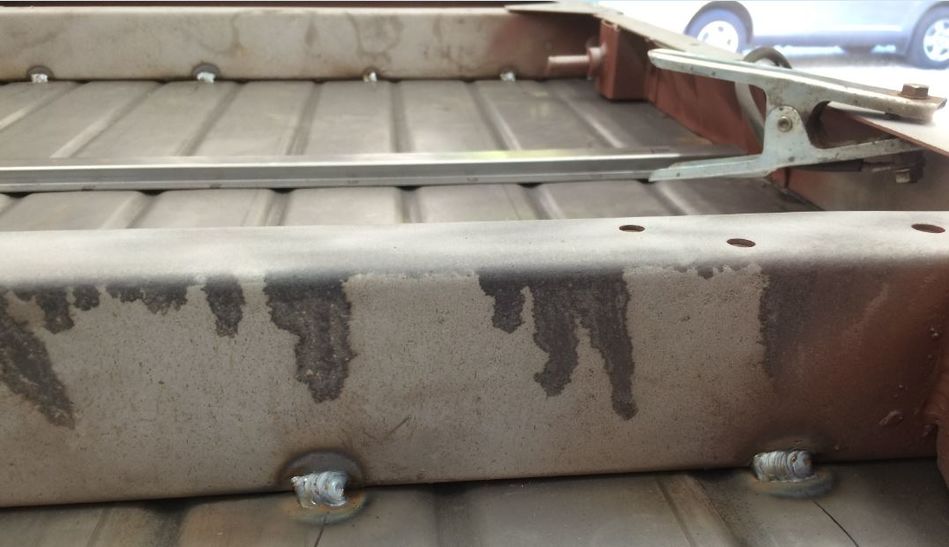
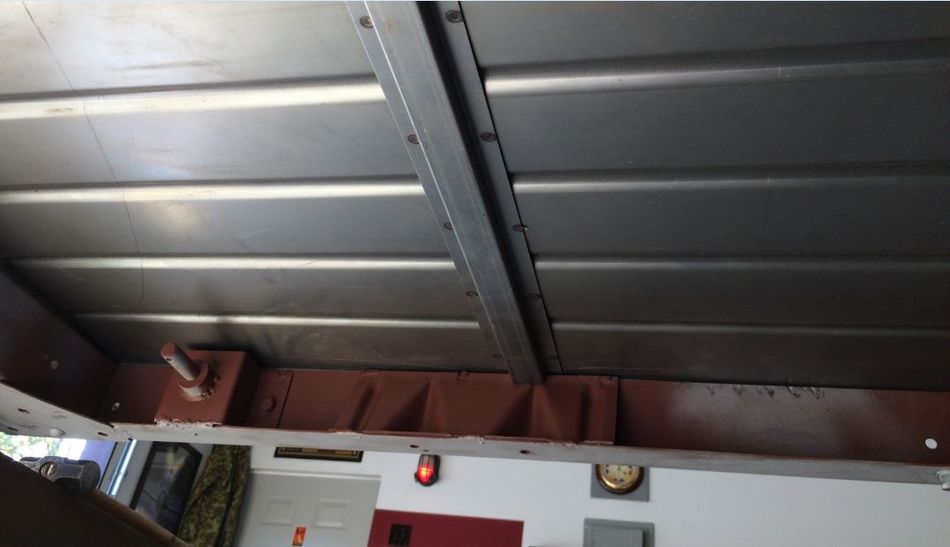
Hat channel fits well:
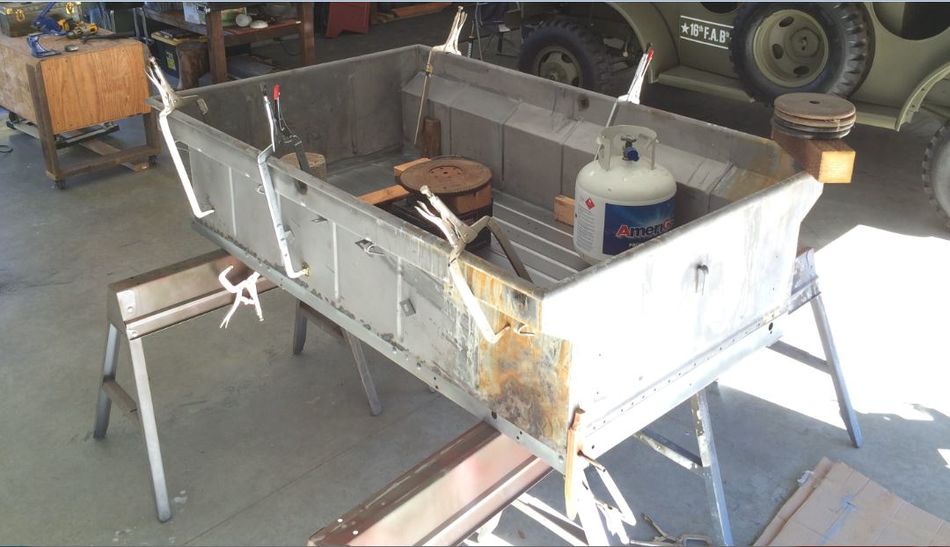
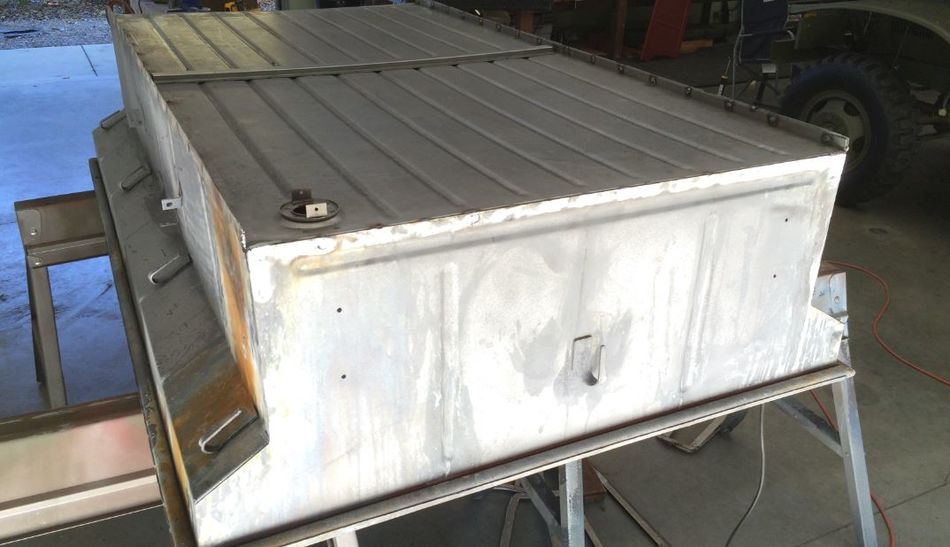
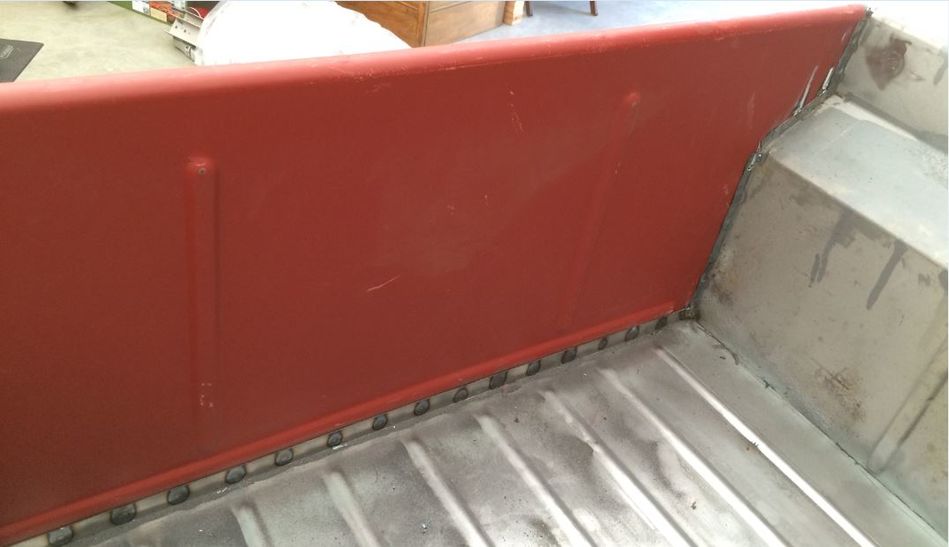
Here's a nice bow in the middle now that the sides of the floor are flat to the frame:

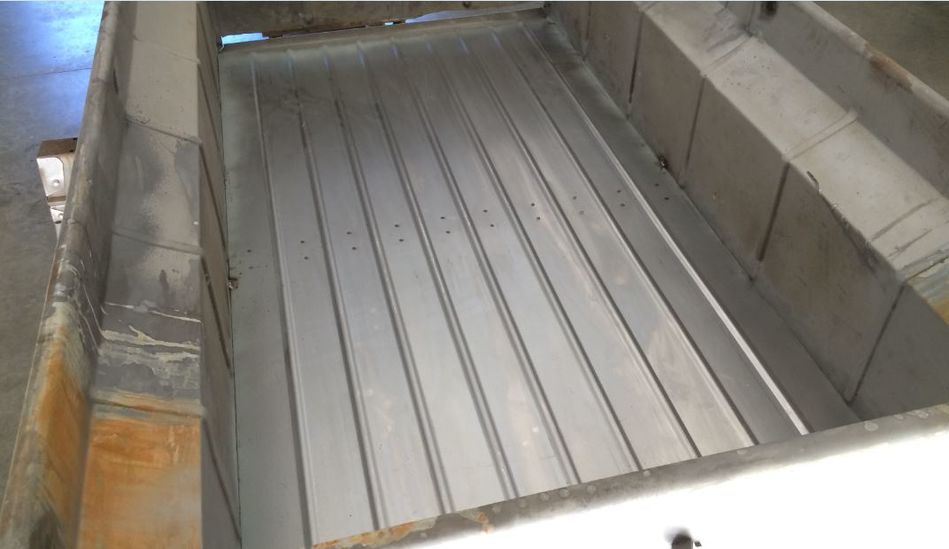
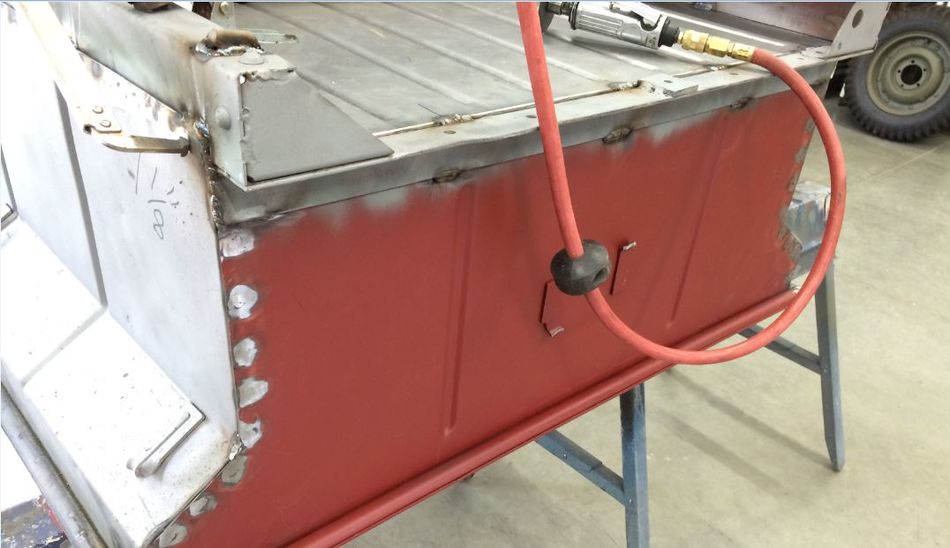
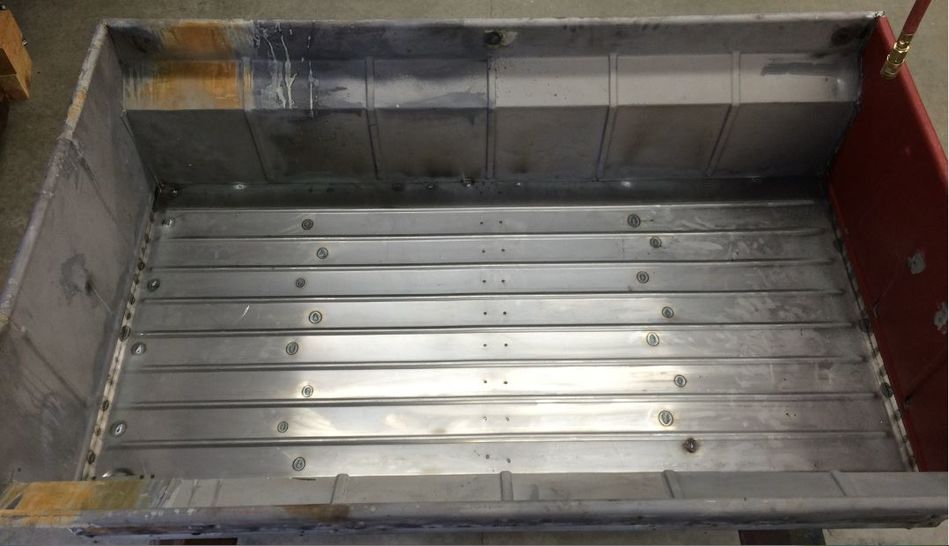
Punched some holes for plug welding. Now if I can figure it out: